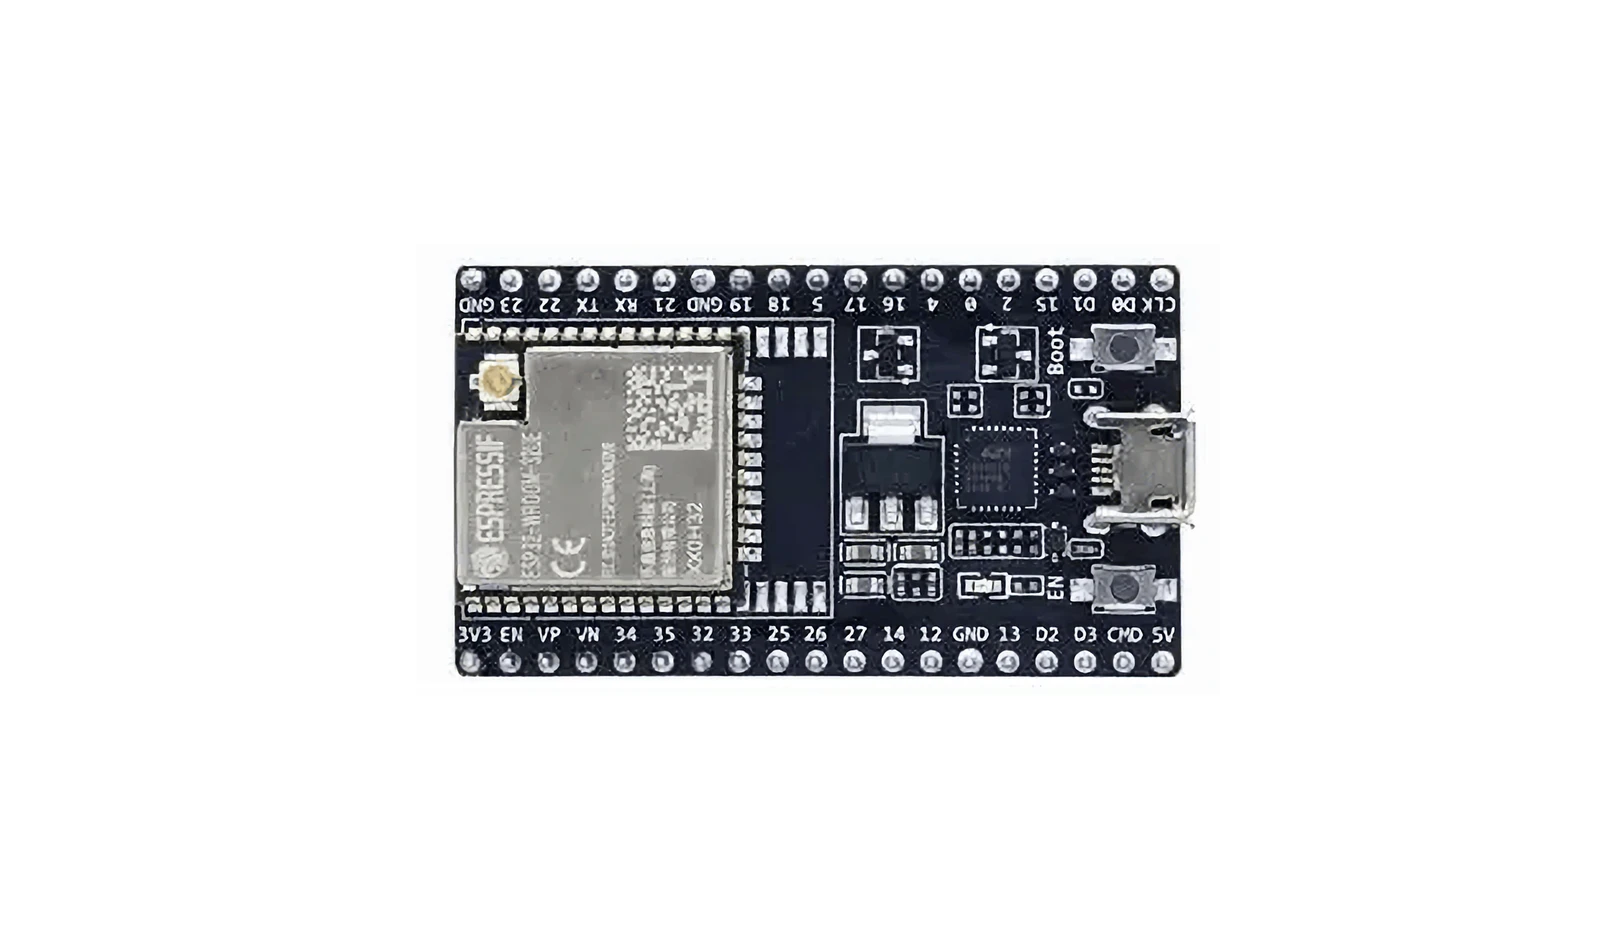
Overview
The idea here was simple: control an LED from my phone. No Bluetooth, no app — just a web page served by the ESP32 itself, accessible from anything on my home WiFi. I’d get a slider in the browser, and the LED would respond in real time. It turned out to be a nice little exercise in tying together WiFi, HTTP, and PWM — three things that show up in basically every IoT project.
System Architecture
The ESP32 acts as both a WiFi client and a web server.
Hardware
- ESP32-WROOM-32 development board
- Built-in LED (GPIO 2)
- USB cable
Started with the built-in LED for simplicity. No breadboard, no external components — just the dev board and a USB cable. The onboard LED is on GPIO 2, which is handy because it’s already wired up and you don’t have to think about current-limiting resistors.
Software
Environment: Arduino IDE with ESP32 Arduino Core
Libraries:
#include <WiFi.h>
#include <WebServer.h>
Both libraries come bundled with the ESP32 Arduino Core, so there’s nothing extra to install. WiFi.h handles the connection and WebServer.h gives you a lightweight HTTP server — perfect for this kind of thing.
Implementation
WiFi Web Server
The ESP32 connects to your local WiFi and serves a control page.
Devices on the same network can open the assigned IP address, e.g., http://192.168.x.x/.
This is the part I like most about the ESP32 — you can spin up a web server in a handful of lines and suddenly your microcontroller is reachable from any device on the network. No router config, no port forwarding, just a local IP.
PWM Brightness Control
Brightness uses PWM with an 8-bit resolution (0–255 maps to 0%–100%).
The web slider sends an HTTP request to change the duty cycle:
Browser → /set?value=brightness → ESP32 PWM output
I went with 8-bit PWM (0–255) because it matches the ledcWrite range cleanly and the slider’s min/max attributes. The web page uses fetch() to fire off a GET request to /set?value=128 every time the slider moves, and the ESP32 parses the value and writes it to the PWM channel. At 5000 Hz, there’s no visible flicker.
Testing
- Upload the sketch.
- Open the Serial Monitor and note the IP shown after connection.
- Navigate to that IP in a browser.
- Move the slider to change LED brightness.
Result
The ESP32 connects, serves the interface, receives HTTP brightness values, and drives the LED via PWM. The whole chain—hardware, network, interface, physical output—works as expected and provides a base for more interactive IoT projects.
This is one of those builds where the payoff-to-effort ratio is really satisfying. In about 160 lines of code you get a working web-controlled light. The same pattern — WiFi + web server + PWM — extends naturally to things like motor speed control, servo positioning, or driving an LED strip through a MOSFET.
Full Code
#include <WiFi.h>
#include <WebServer.h>

// Replace with your WiFi name and password
const char* ssid = "YOUR_WIFI_USERNAME_HERE";
const char* password = "YOUR_WIFI_PASSWORD_HERE";

WebServer server(80);

// LED pin
#define LED_PIN 2

// PWM settings
#define PWM_CHANNEL 0
#define PWM_FREQ 5000
#define PWM_RESOLUTION 8   // 8-bit = 0–255

void setup() {
  Serial.begin(115200);

  // Configure PWM
  ledcAttach(LED_PIN, PWM_FREQ, PWM_RESOLUTION);

  // Start at 50% brightness
  ledcWrite(PWM_CHANNEL, 128);

  // Connect to WiFi
  WiFi.begin(ssid, password);
  Serial.print("Connecting WiFi");
  while (WiFi.status() != WL_CONNECTED) {
    delay(500);
    Serial.print(".");
  }
  Serial.println();
  Serial.println("WiFi connected");
  Serial.print("IP address: ");
  Serial.println(WiFi.localIP());

  // Home page
  server.on("/", []() {
    String html = R"rawliteral(
<!DOCTYPE html>
<html>
<head>
<meta charset="utf-8">
<title>ESP32 LED Control</title>
<style>
body { text-align: center; font-family: Arial; }
input { width: 80%; }
</style>
</head>
<body>
<h1>ESP32 LED Control</h1>
<h2>Brightness Control</h2>
<input type="range" min="0" max="255" value="128" id="brightness"
       oninput="changeBrightness(this.value)">
<p>Current Brightness: <span id="value">128</span></p>
<script>
function changeBrightness(value) {
  document.getElementById("value").innerHTML = value;
  fetch("/set?value=" + value);
}
</script>
</body>
</html>
    )rawliteral";
    server.send(200, "text/html;charset=utf-8", html);
  });

  // Receive brightness data from web page
  server.on("/set", []() {
    if (server.hasArg("value")) {
      int brightness = server.arg("value").toInt();
      // Output PWM signal
      ledcWrite(LED_PIN, brightness);
      Serial.print("Brightness: ");
      Serial.println(brightness);
    }
    server.send(200, "text/plain", "OK");
  });

  server.begin();
  Serial.println("Web server started");
}

void loop() {
  server.handleClient();
}