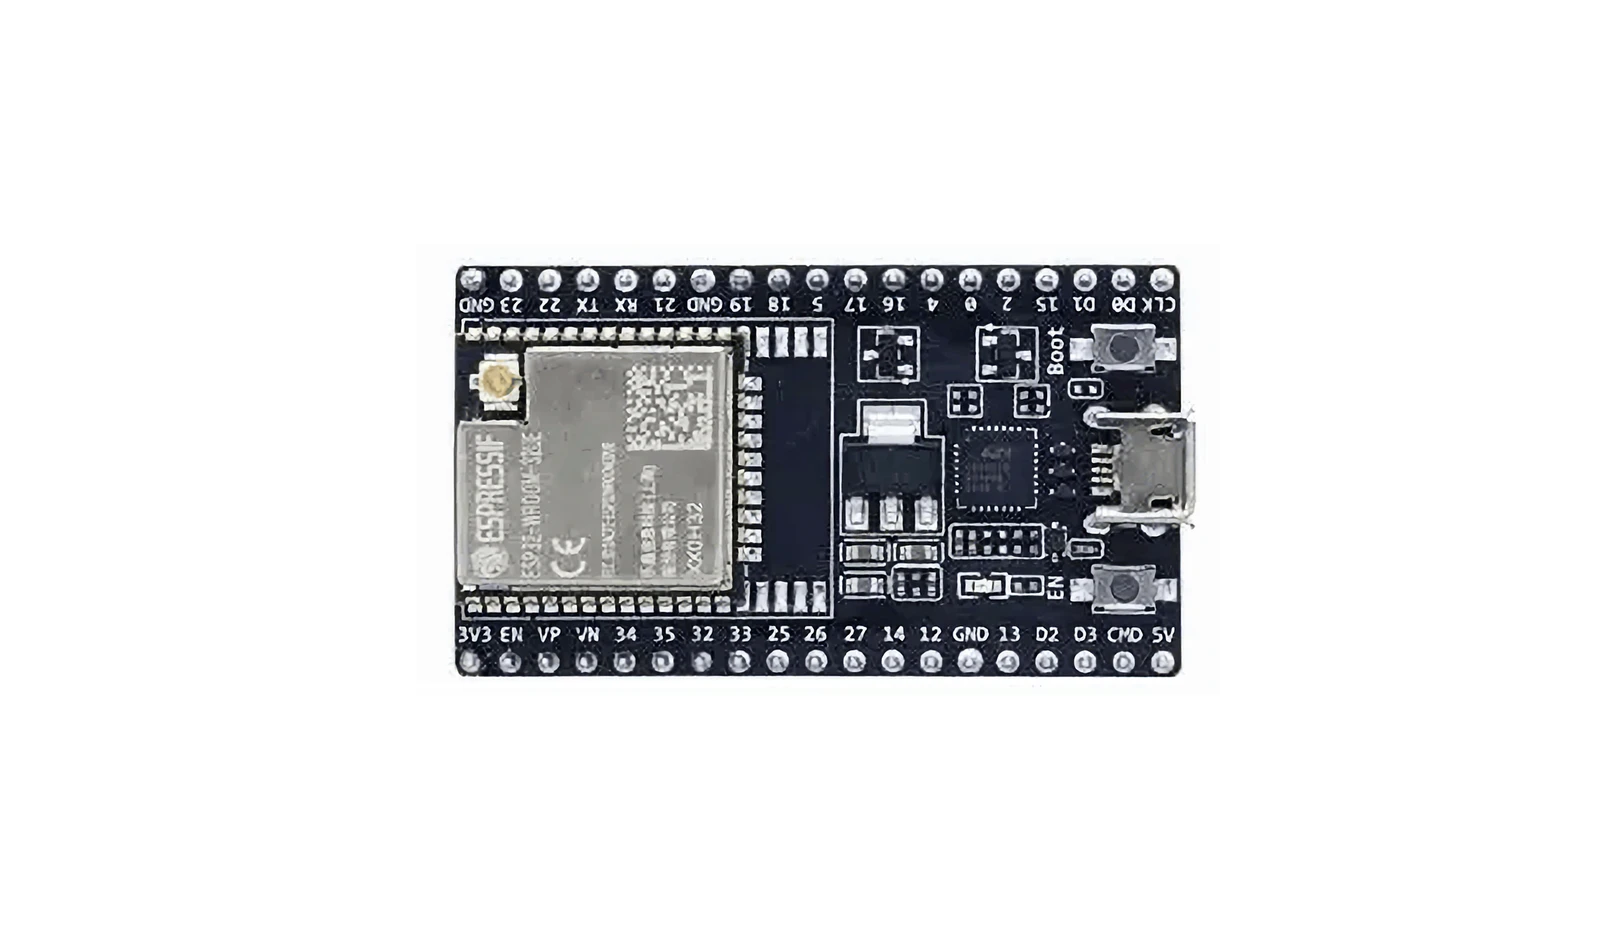
Overview
The idea here was simple: control an LED from my phone. No Bluetooth, no app: just a web page served by the ESP32 itself, accessible from anything on my home WiFi. I’d get a slider in the browser, and the LED would respond in real time. It turned out to be a nice little exercise in tying together WiFi, HTTP, and PWM: three things that show up in basically every IoT project.
System Architecture
The ESP32 acts as both a WiFi client and a web server.
Hardware
- ESP32-WROOM-32 development board
- Built-in LED (GPIO 2)
- USB cable
Started with the built-in LED for simplicity. No breadboard, no external components: just the dev board and a USB cable. The onboard LED is on GPIO 2, which is handy because it’s already wired up and you don’t have to think about current-limiting resistors.
Software
Environment: Arduino IDE with ESP32 Arduino Core
Libraries:
#include <WiFi.h>
#include <WebServer.h>
Both libraries come bundled with the ESP32 Arduino Core, so there’s nothing extra to install. WiFi.h handles the connection and WebServer.h gives you a lightweight HTTP server: perfect for this kind of thing.
Implementation
WiFi Web Server
The ESP32 connects to your local WiFi and serves a control page.
Devices on the same network can open the assigned IP address, e.g., http://192.168.x.x/.
This is the part I like most about the ESP32: you can spin up a web server in a handful of lines and suddenly your microcontroller is reachable from any device on the network. No router config, no port forwarding, just a local IP.
PWM Brightness Control
Brightness uses PWM with an 8-bit resolution (0–255 maps to 0%–100%).
The web slider sends an HTTP request to change the duty cycle:
Browser → /set?value=brightness → ESP32 PWM output
I went with 8-bit PWM (0–255) because it matches the ledcWrite range cleanly and the slider’s min/max attributes. The web page uses fetch() to fire off a GET request to /set?value=128 every time the slider moves, and the ESP32 parses the value and writes it to the PWM channel. At 5000 Hz, there’s no visible flicker.
Testing
- Upload the sketch.
- Open the Serial Monitor and note the IP shown after connection.
- Navigate to that IP in a browser.
- Move the slider to change LED brightness.
Result
The ESP32 connects, serves the interface, receives HTTP brightness values, and drives the LED via PWM. The whole chain: hardware, network, interface, physical output: works as expected, and it’s a solid base for more interactive IoT projects.
This is one of those builds where the payoff-to-effort ratio is really satisfying. In about 160 lines of code you get a working web-controlled light. The same pattern (WiFi + web server + PWM) extends naturally to things like motor speed control, servo positioning, or driving an LED strip through a MOSFET.
Full Code
#include <WiFi.h>
#include <WebServer.h>

// Replace with your WiFi name and password
const char* ssid = "YOUR_WIFI_USERNAME_HERE";
const char* password = "YOUR_WIFI_PASSWORD_HERE";

WebServer server(80);

// LED pin
#define LED_PIN 2

// PWM settings
#define PWM_CHANNEL 0
#define PWM_FREQ 5000
#define PWM_RESOLUTION 8   // 8-bit = 0–255

void setup() {
  Serial.begin(115200);

  // Configure PWM
  ledcAttach(LED_PIN, PWM_FREQ, PWM_RESOLUTION);

  // Start at 50% brightness
  ledcWrite(PWM_CHANNEL, 128);

  // Connect to WiFi
  WiFi.begin(ssid, password);
  Serial.print("Connecting WiFi");
  while (WiFi.status() != WL_CONNECTED) {
    delay(500);
    Serial.print(".");
  }
  Serial.println();
  Serial.println("WiFi connected");
  Serial.print("IP address: ");
  Serial.println(WiFi.localIP());

  // Home page
  server.on("/", []() {
    String html = R"rawliteral(
<!DOCTYPE html>
<html>
<head>
<meta charset="utf-8">
<title>ESP32 LED Control</title>
<style>
body { text-align: center; font-family: Arial; }
input { width: 80%; }
</style>
</head>
<body>
<h1>ESP32 LED Control</h1>
<h2>Brightness Control</h2>
<input type="range" min="0" max="255" value="128" id="brightness"
       oninput="changeBrightness(this.value)">
<p>Current Brightness: <span id="value">128</span></p>
<script>
function changeBrightness(value) {
  document.getElementById("value").innerHTML = value;
  fetch("/set?value=" + value);
}
</script>
</body>
</html>
    )rawliteral";
    server.send(200, "text/html;charset=utf-8", html);
  });

  // Receive brightness data from web page
  server.on("/set", []() {
    if (server.hasArg("value")) {
      int brightness = server.arg("value").toInt();
      // Output PWM signal
      ledcWrite(LED_PIN, brightness);
      Serial.print("Brightness: ");
      Serial.println(brightness);
    }
    server.send(200, "text/plain", "OK");
  });

  server.begin();
  Serial.println("Web server started");
}

void loop() {
  server.handleClient();
}